Digitalization of Kato TGV Sud-Est
Last updated on: 2022-03-10
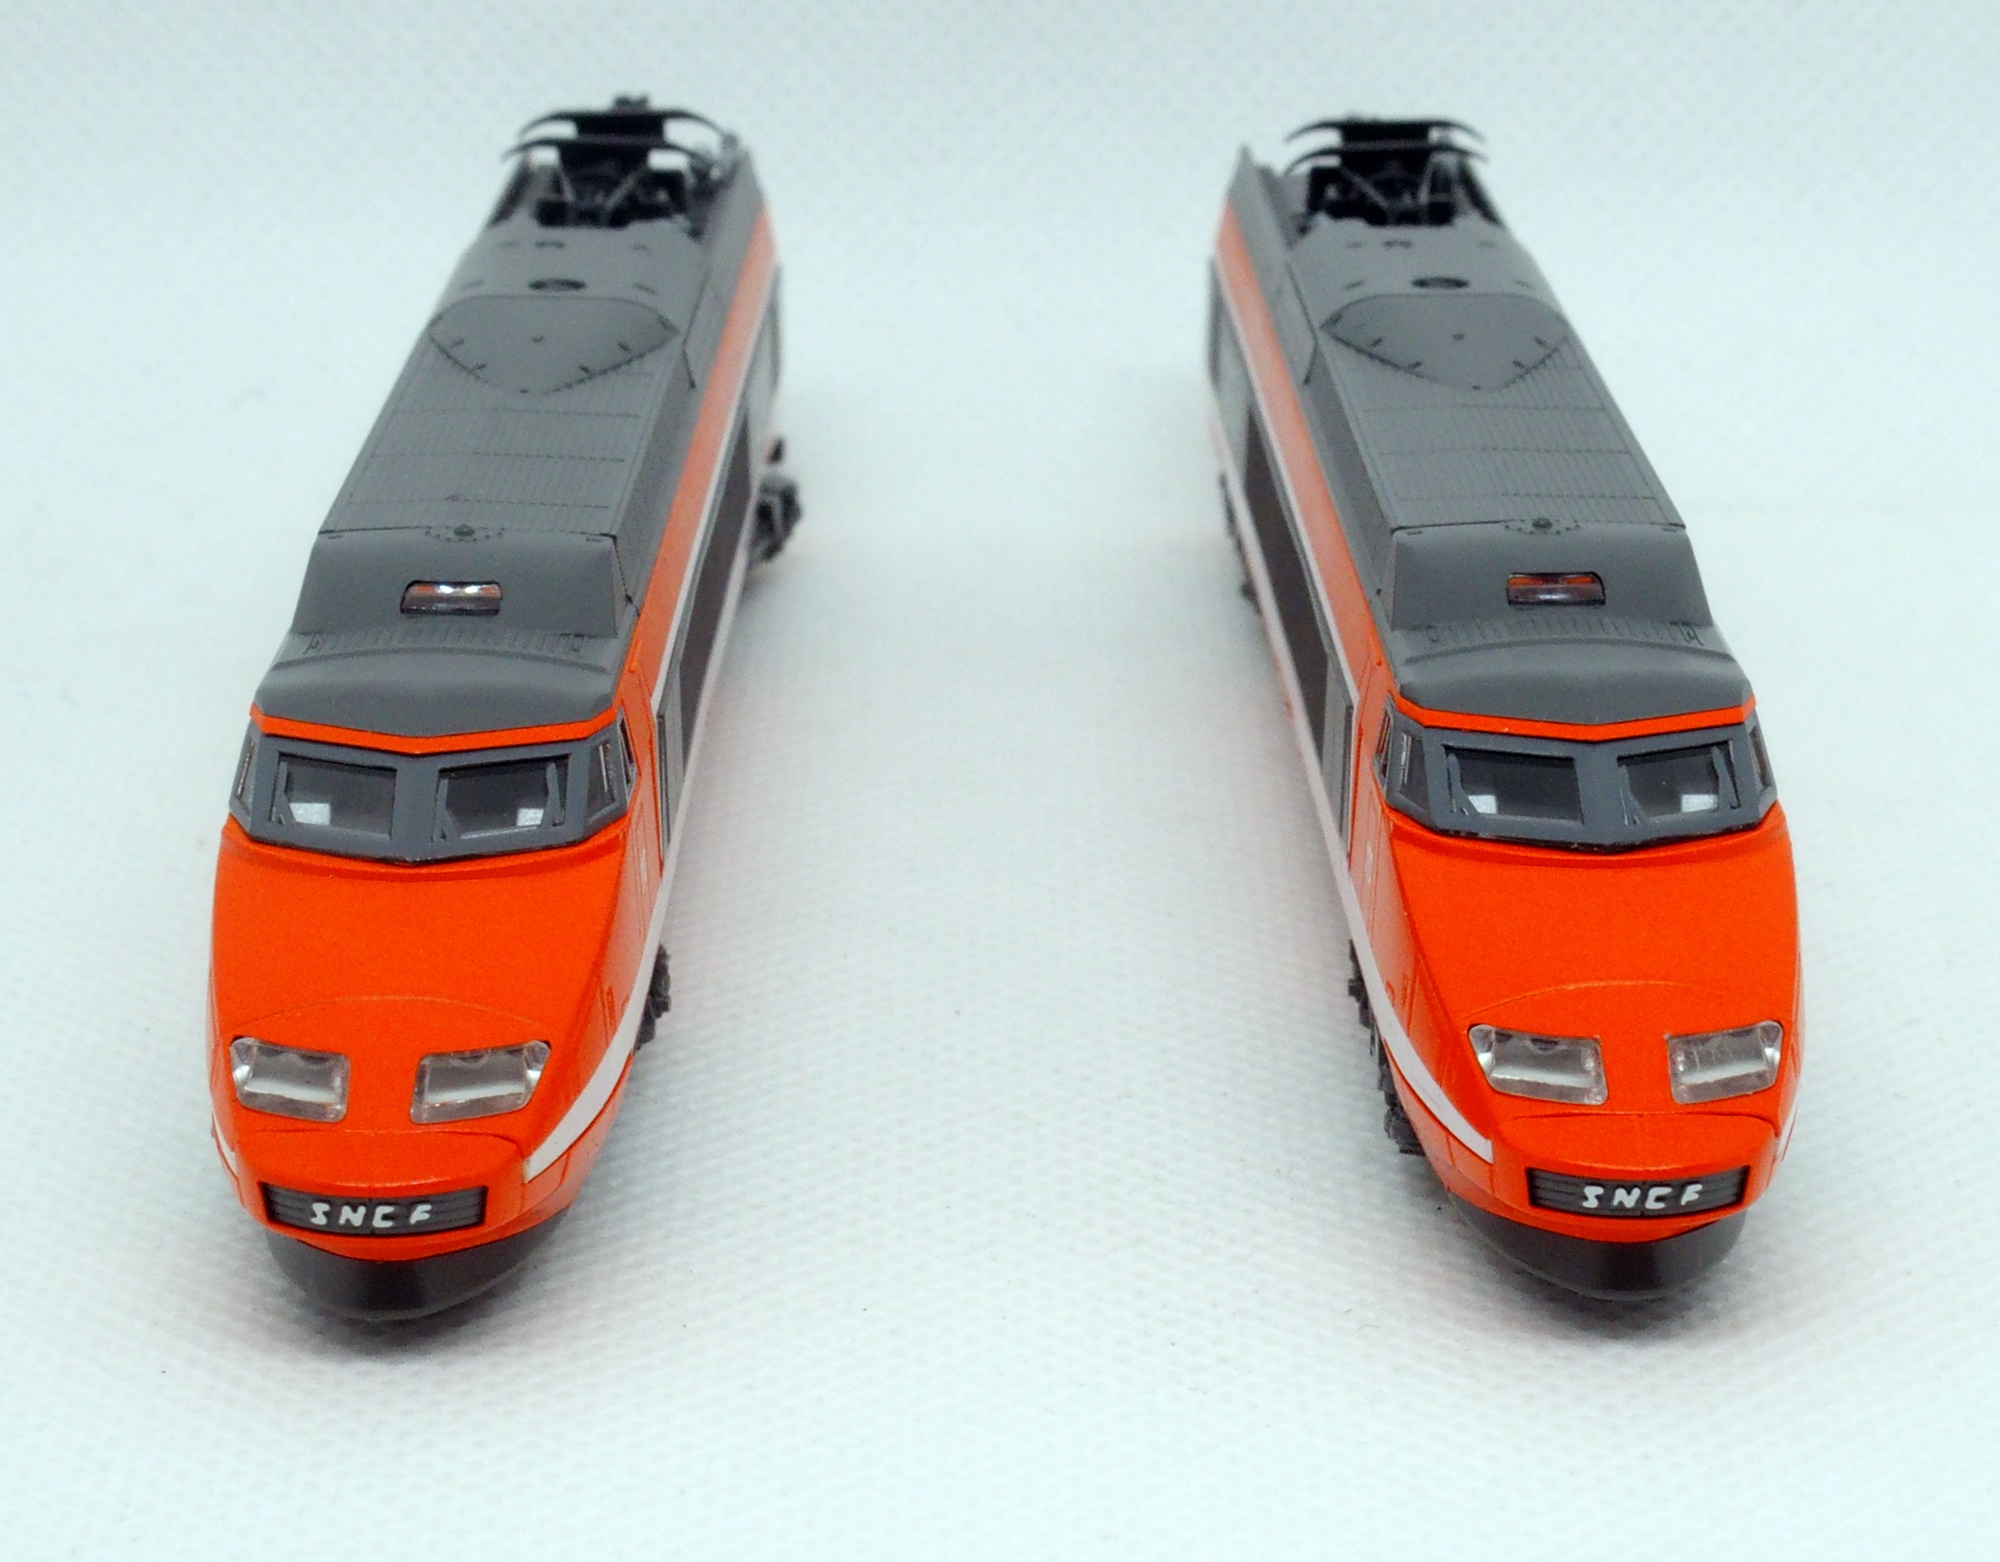
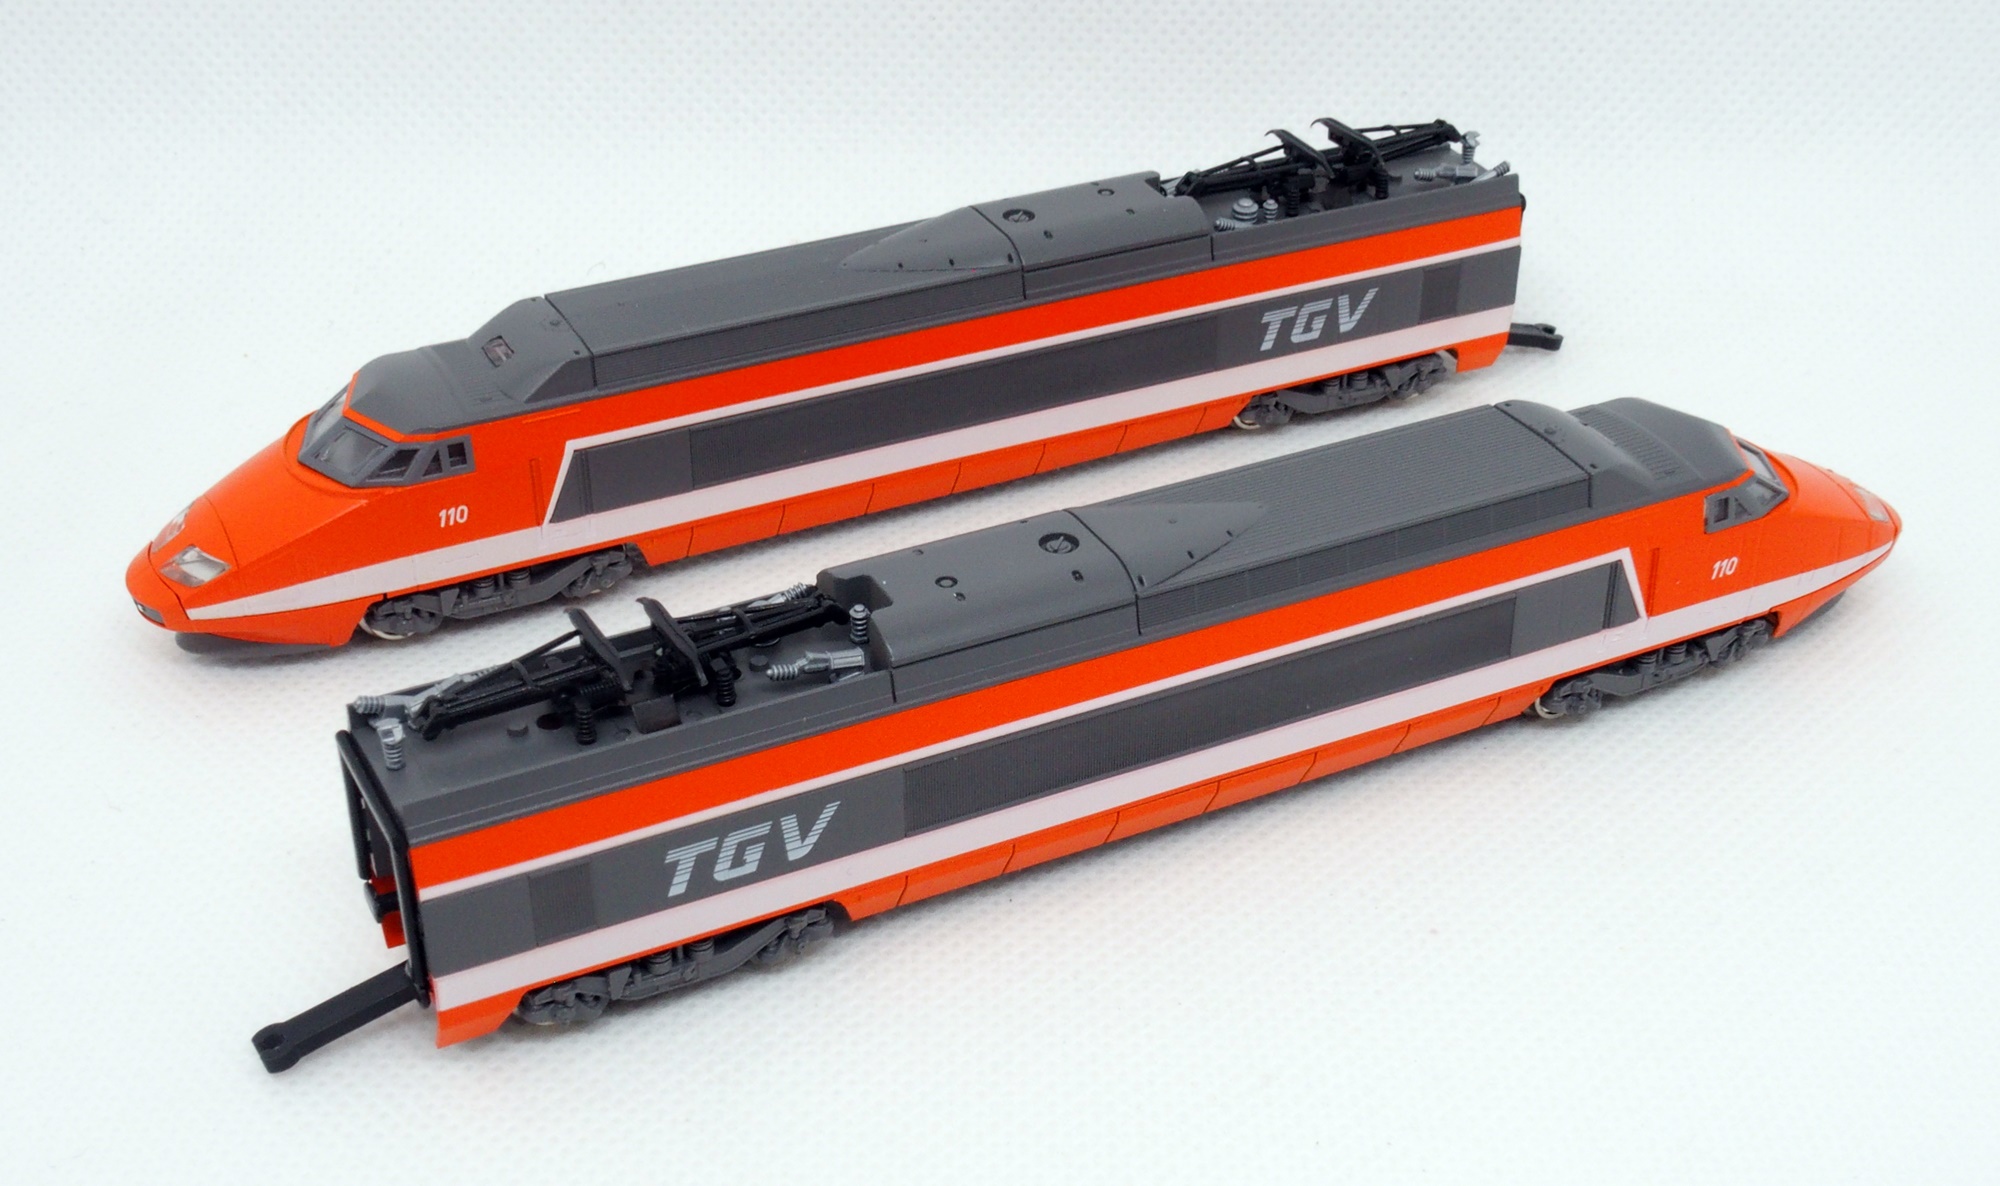
We are going to describe in this article the digitalization – this is the accepted term – of the N scale model of the TGV Sud-Est trainset from Kato, that is to say the installation of DCC decoders in the train.
‘Oldies, but Goldies’
This is a model of the TGV Sud-Est released in 1983 (reference 10-091) and re-released 10 years later in 1993 (reference 10-198). In both cases, it is exactly the same model, the 1993 version being offered in the green book-format storage box familiar to the brand.
The basic set consists of two motor cars (M1, M2), one of which is motorized (M1), and 4 intermediate cars (R1, R4, R5, R8), including a bar car (R4). A complementary set of 4 additional cars (R2, R3, R6, R7) was also available, which made it possible to constitute the complete trainset with 10 cars like the prototype.
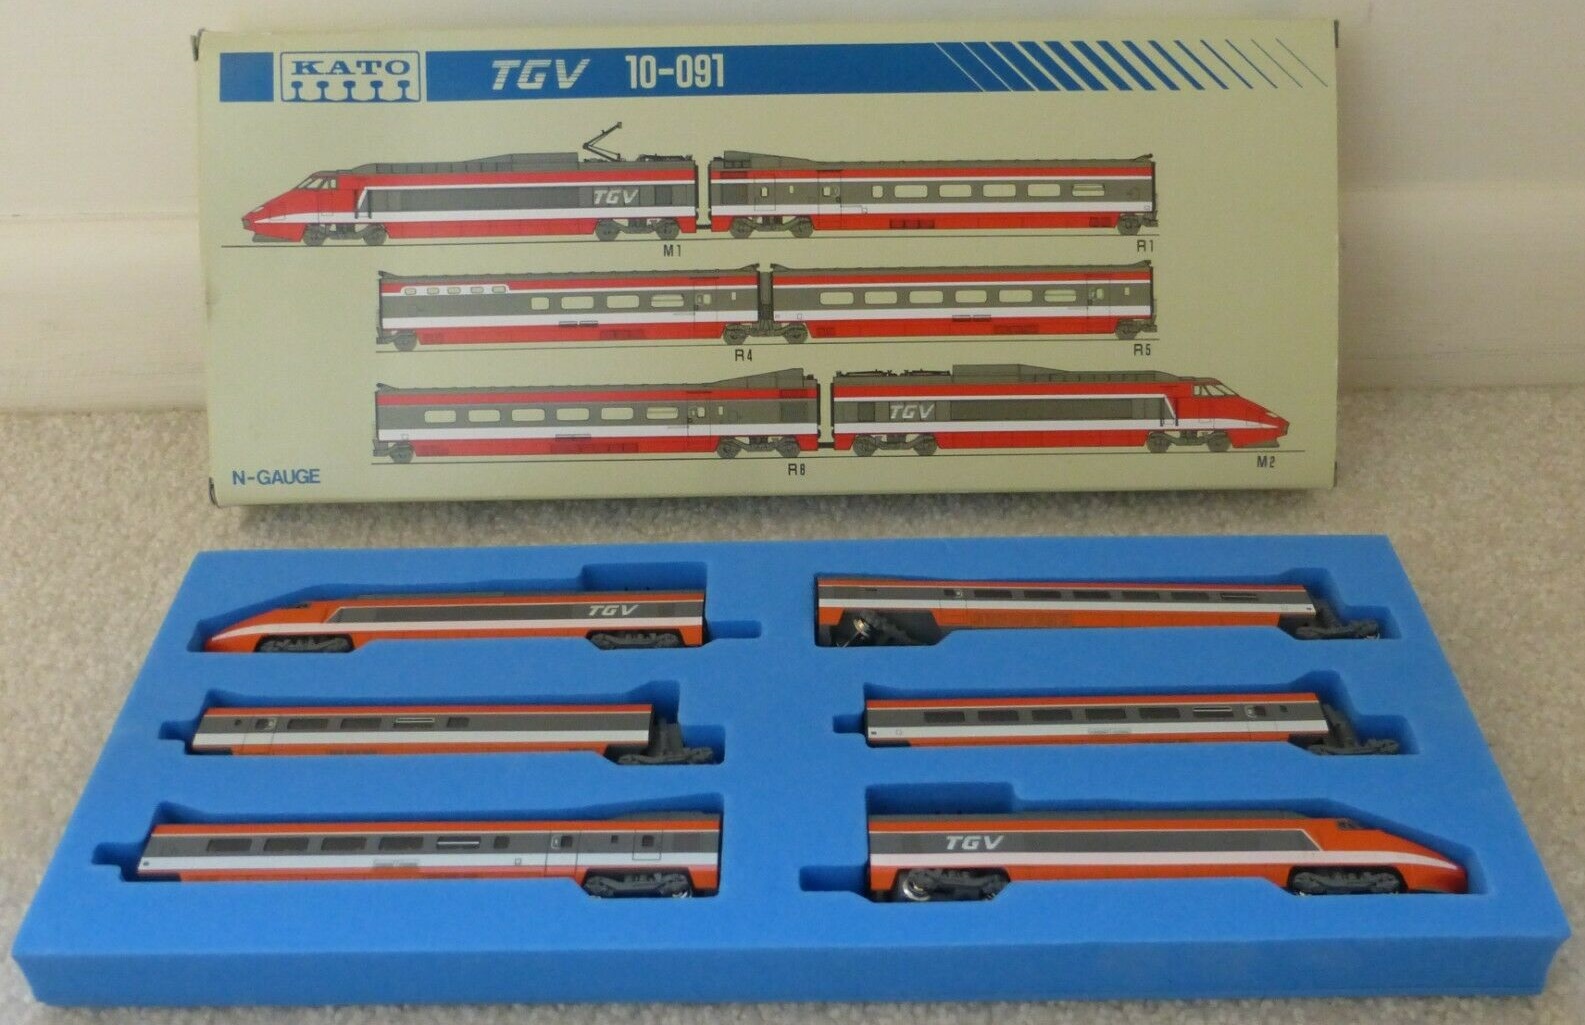
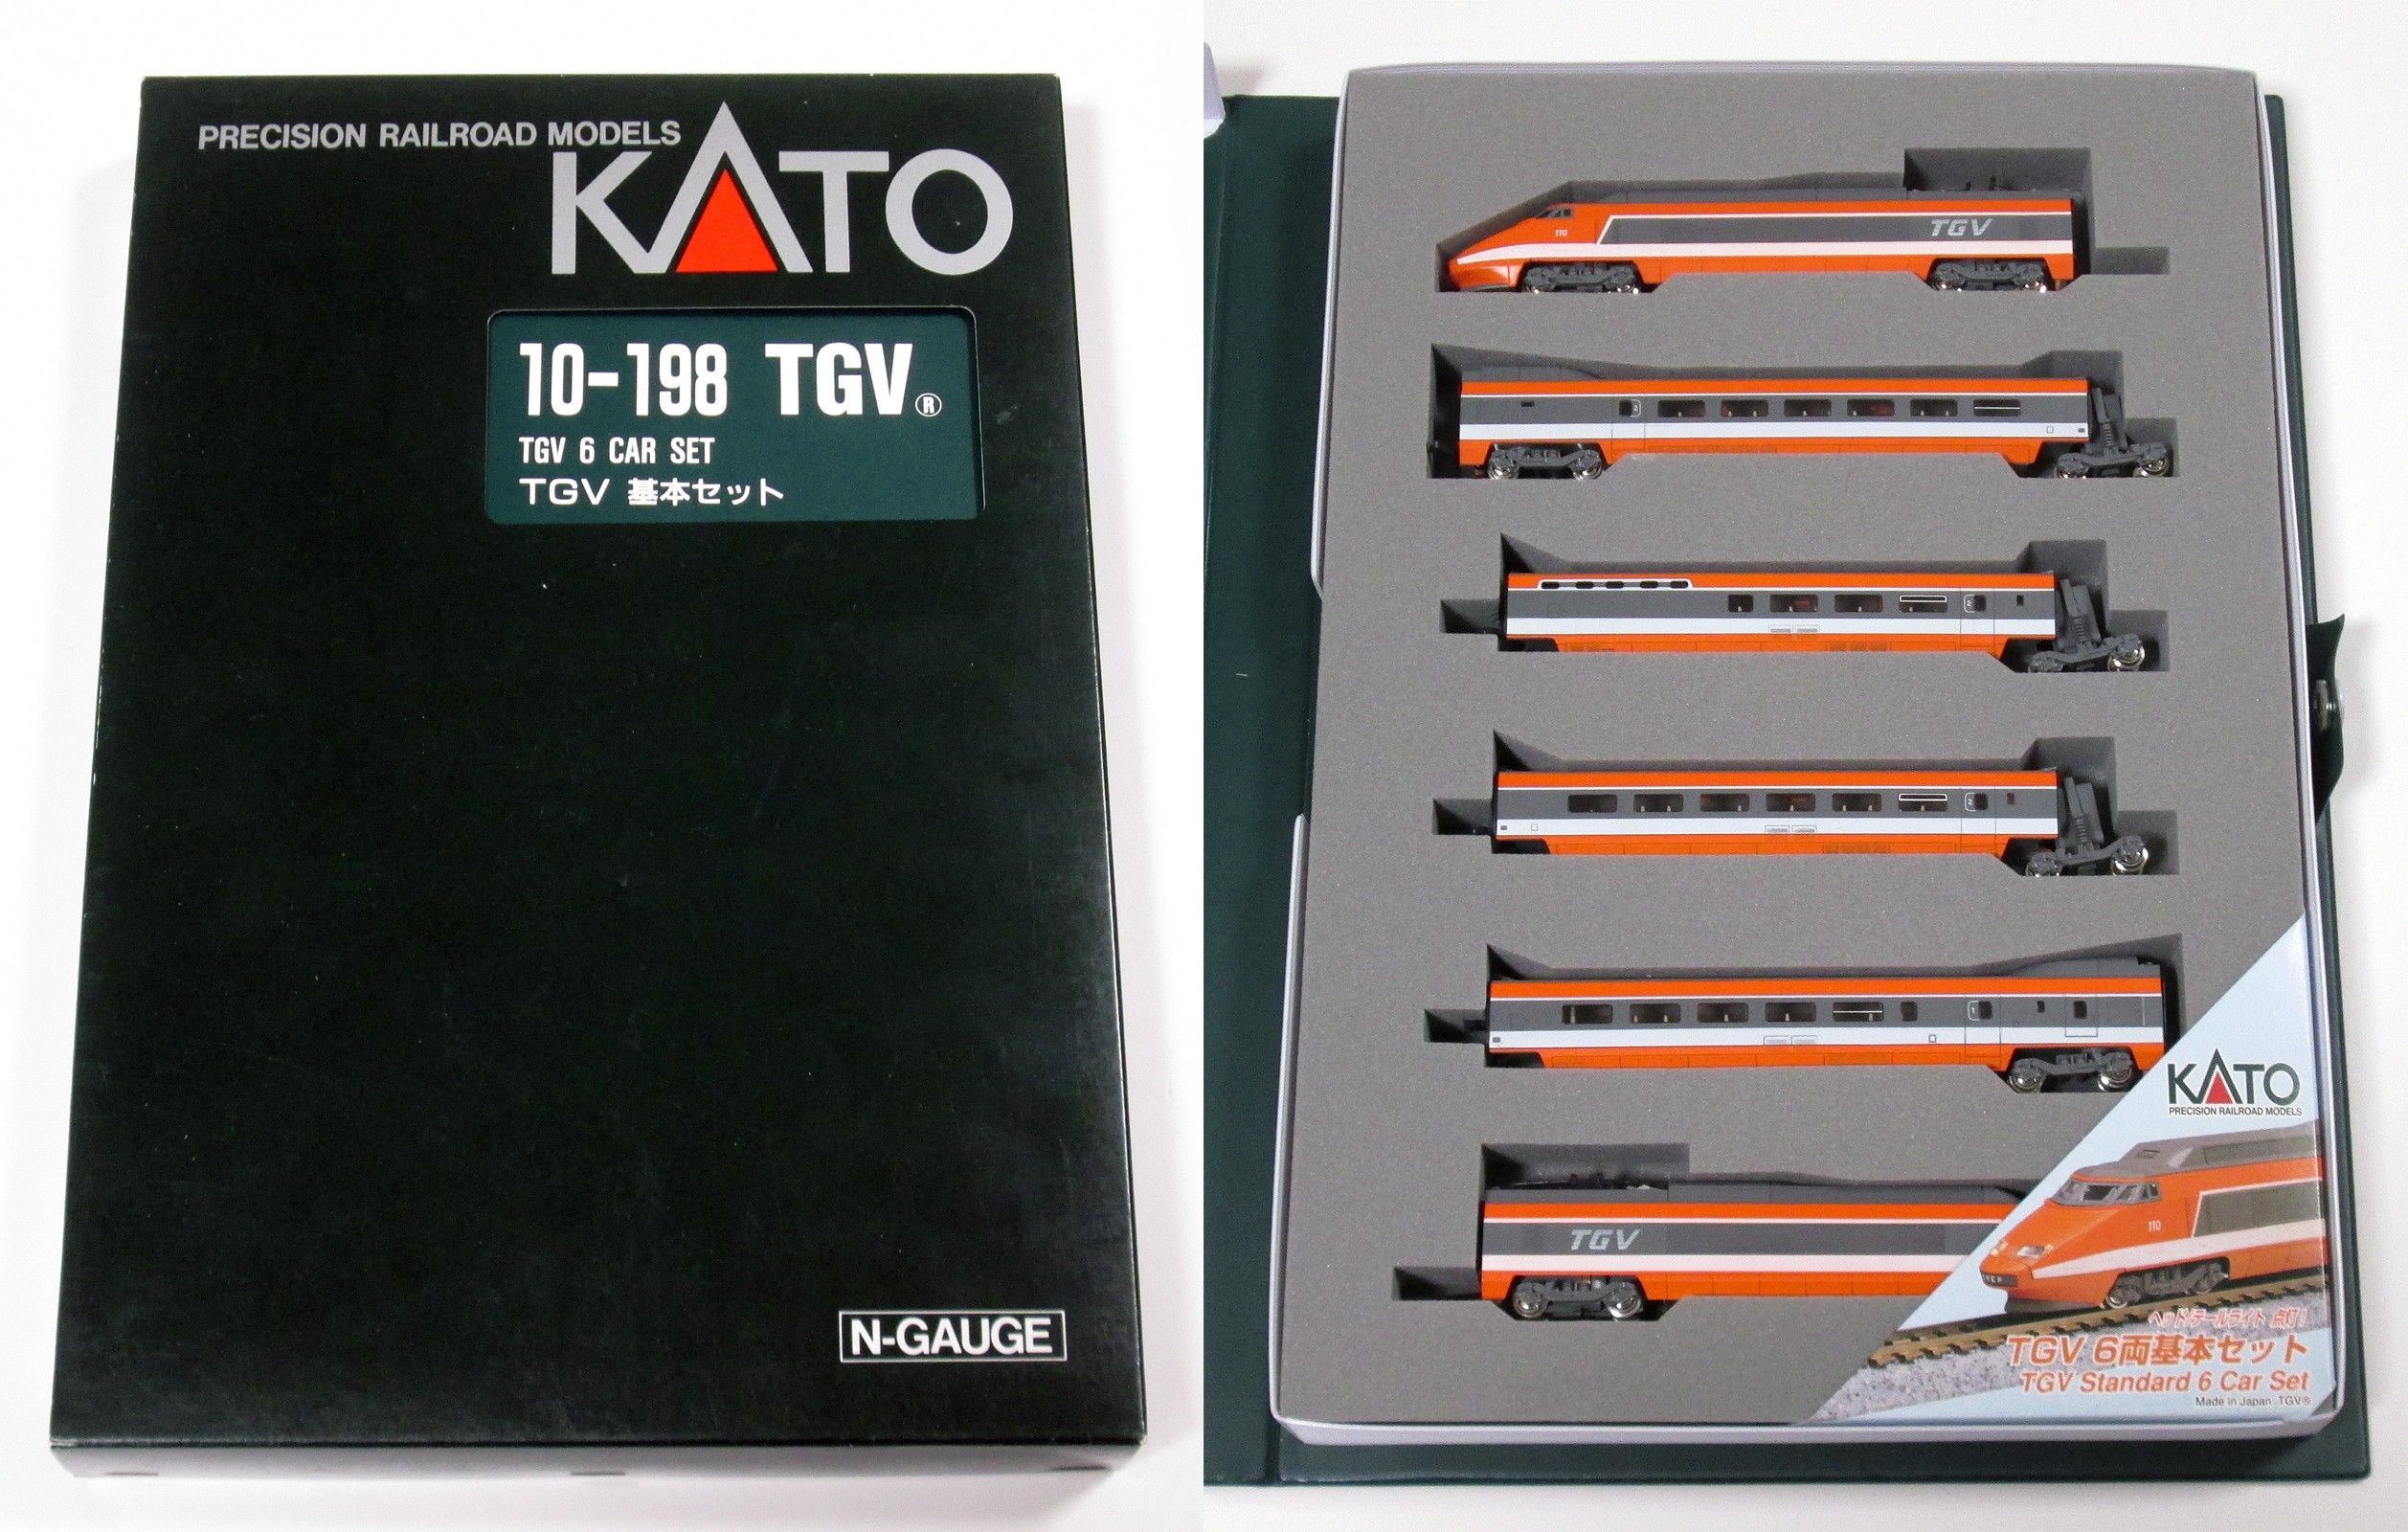
This first N-scale TGV produced by Kato, only two years after the prototype was put into service, was later followed by models of the Eurostar, Thalys, TGV-Duplex and TGV-PSO.
The Prototype
The TGV (Train à Grande Vitesse, French for High-Speed Train) Paris Sud-Est (PSE) or Sud-Est (South-East) was the first intercity high-speed train commissioned in France. It opened to the public between Paris and Lyon on 27 September 1981. Initially rated for a commercial speed of 270 km/h (168 mph), the speed was later increased to 300 km/h (186 mph) in the years 2000. TGV #16 broke the speed record at 380 km/h (236 mph) in 1981 during the trial tests before opening to the public.
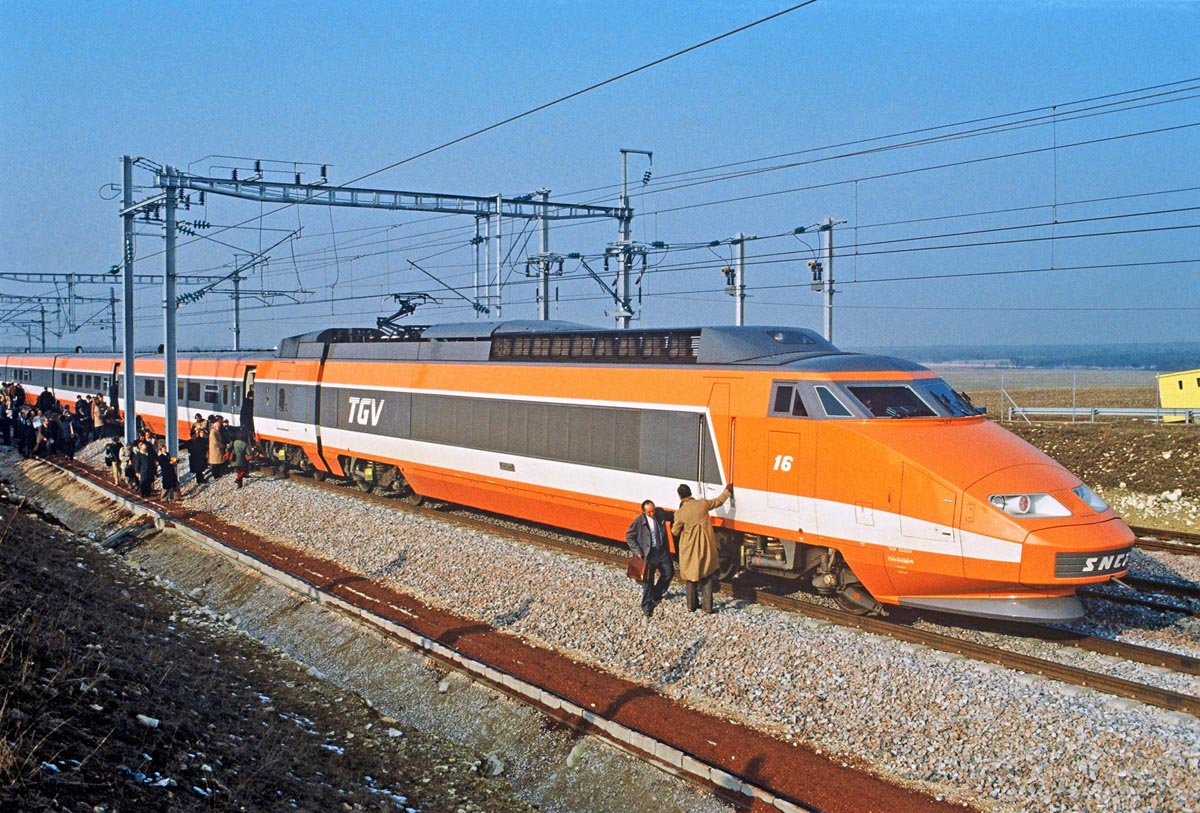
A total of 118 trainsets, numbered 01 to 118, were produced. Each trainset is comprised of two motor cars and eight intermediate cars. TGVs have semi-permanently coupled articulated un-powered cars, with Jacobs bogies between the cars supporting both of them. Motor cars at each end of the trains have their own bogies.
Initially released in a flashy orange livery, the TGV-PSE were later repainted in a more sober silver and blue livery, like the TGV Atlantique. All trainsets of the TGV-PSE have been retired in 2020, after nearly 40 years of continuous service.
Required ingredients
Two decoders are necessary, one for the motorized motor car (M1) and the other for the dummy motor car (M2) in order to ensure lights’ inversion. For the latter, it is possible to use a function decoder, which is a little less expensive than a motor decoder.
As there is no provision for DCC, wired decoders are required. In this case, we used what we had in stock, a Digitrax DZ125 motor decoder and a Doehler & Haass DH250 function decoder. These two products are no longer available for sale, but any decoder for N or Z to the DCC standard will do.
The instructions in this article apply only to the model shown, as the design of Kato's N scale TGVs is very different from one model to the other, the latest versions like the Duplex accepting 6-pin decoders (NEM651). Finally, note that the other high-speed trains produced in N by Kato (Japanese Shinkansen or German ICE4) have a very different design, with a central motorized car and two dummy motor cars, which implies the use of three decoders.
Preparation
To remove the shell, you must first remove the nose by unscrewing a small screw located below. You then have to unclip the lower part, then the rest of the shell, which can be removed very easily by slightly prying off the sides.
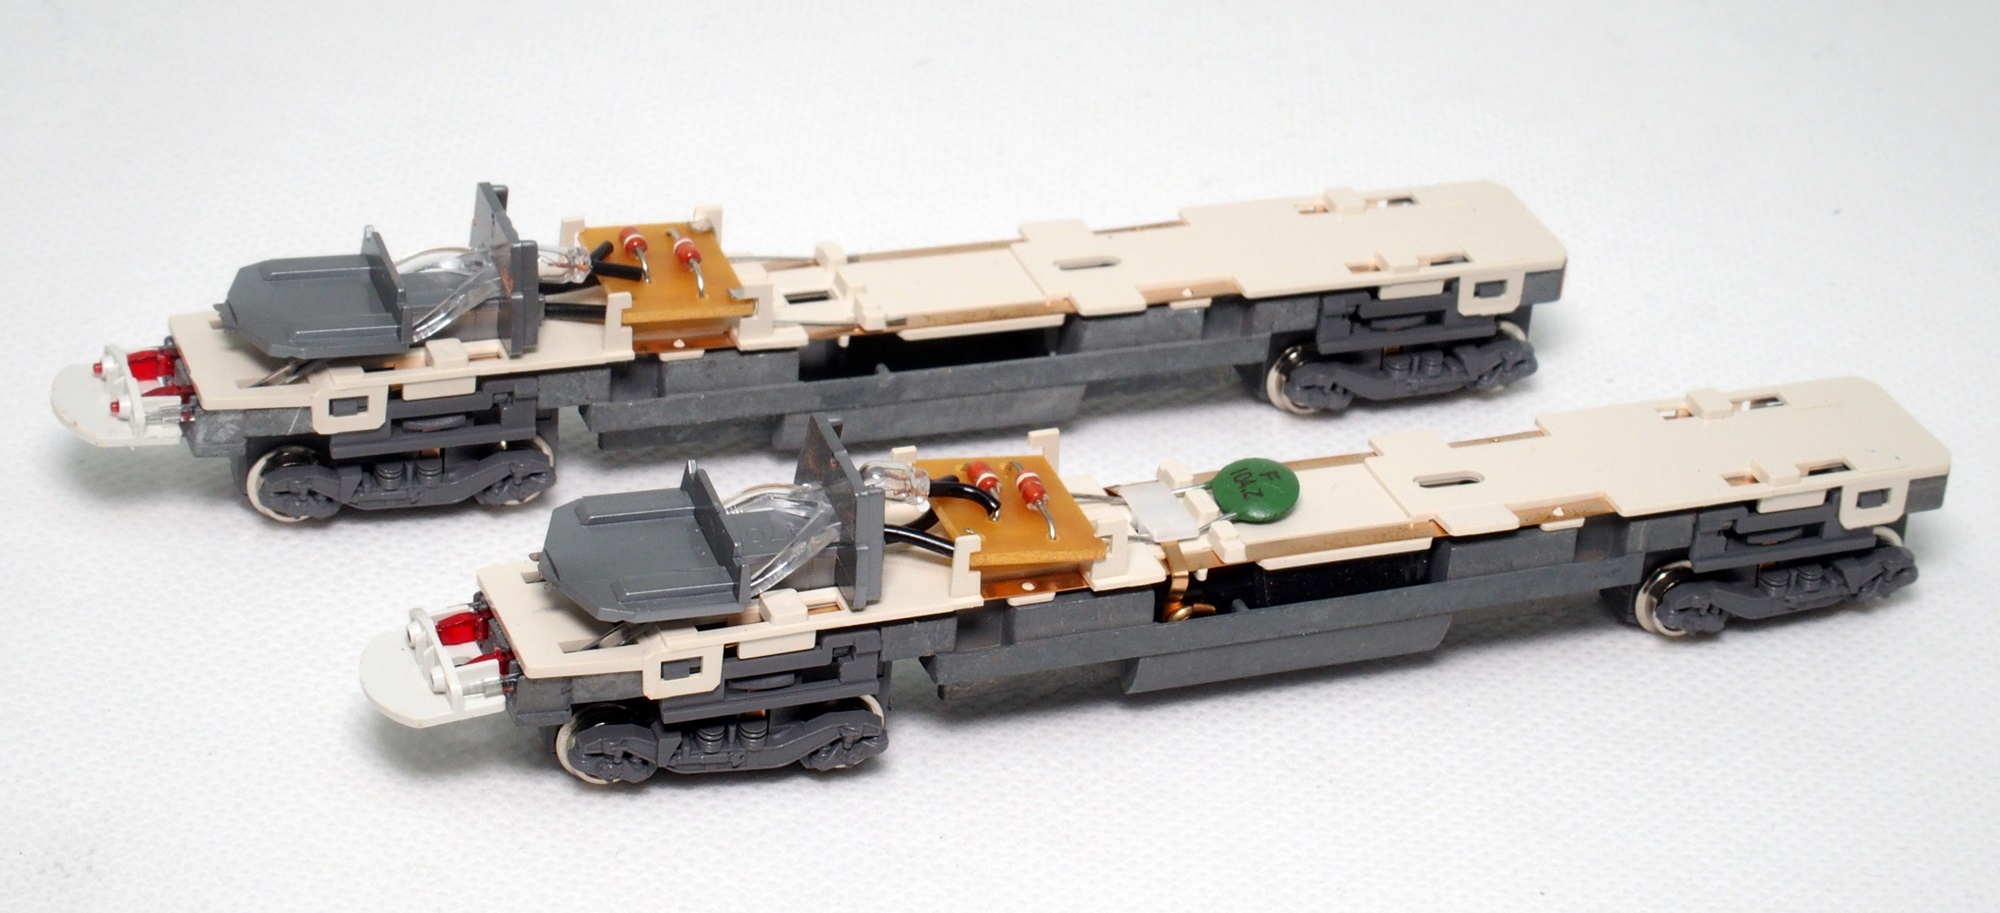
Inside, there is a lot of room and therefore all the space necessary for the installation of a normal size decoder. You can notice the very simple printed circuit which supports the two lamps which illuminate the front (white) and rear (red) lights via light pipes. On the motorized motor, there is also a green capacitor.

Once the printed circuit has been removed, you can see the two connection tabs to the motor which, in the analog version, are directly in contact with the two side metallic strips, connected to the bogies, which therefore conduct the current coming from the track.
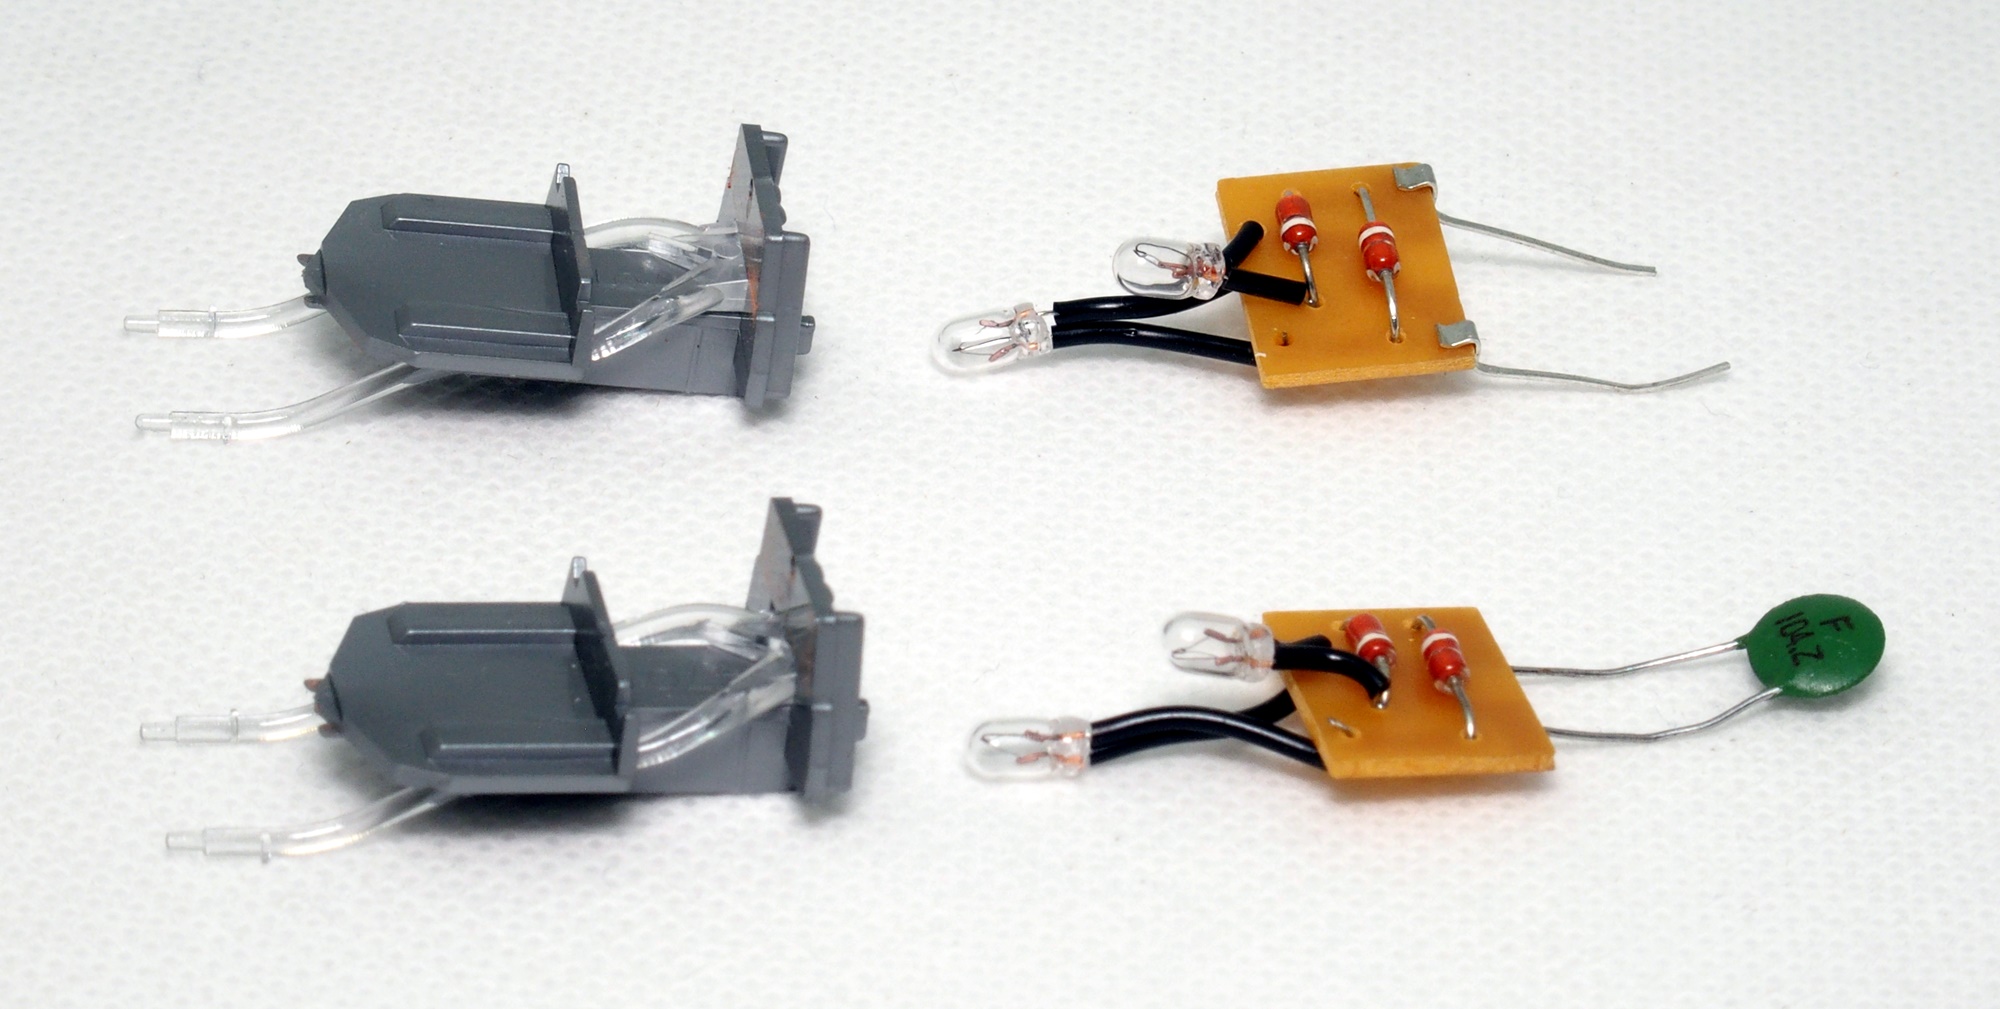
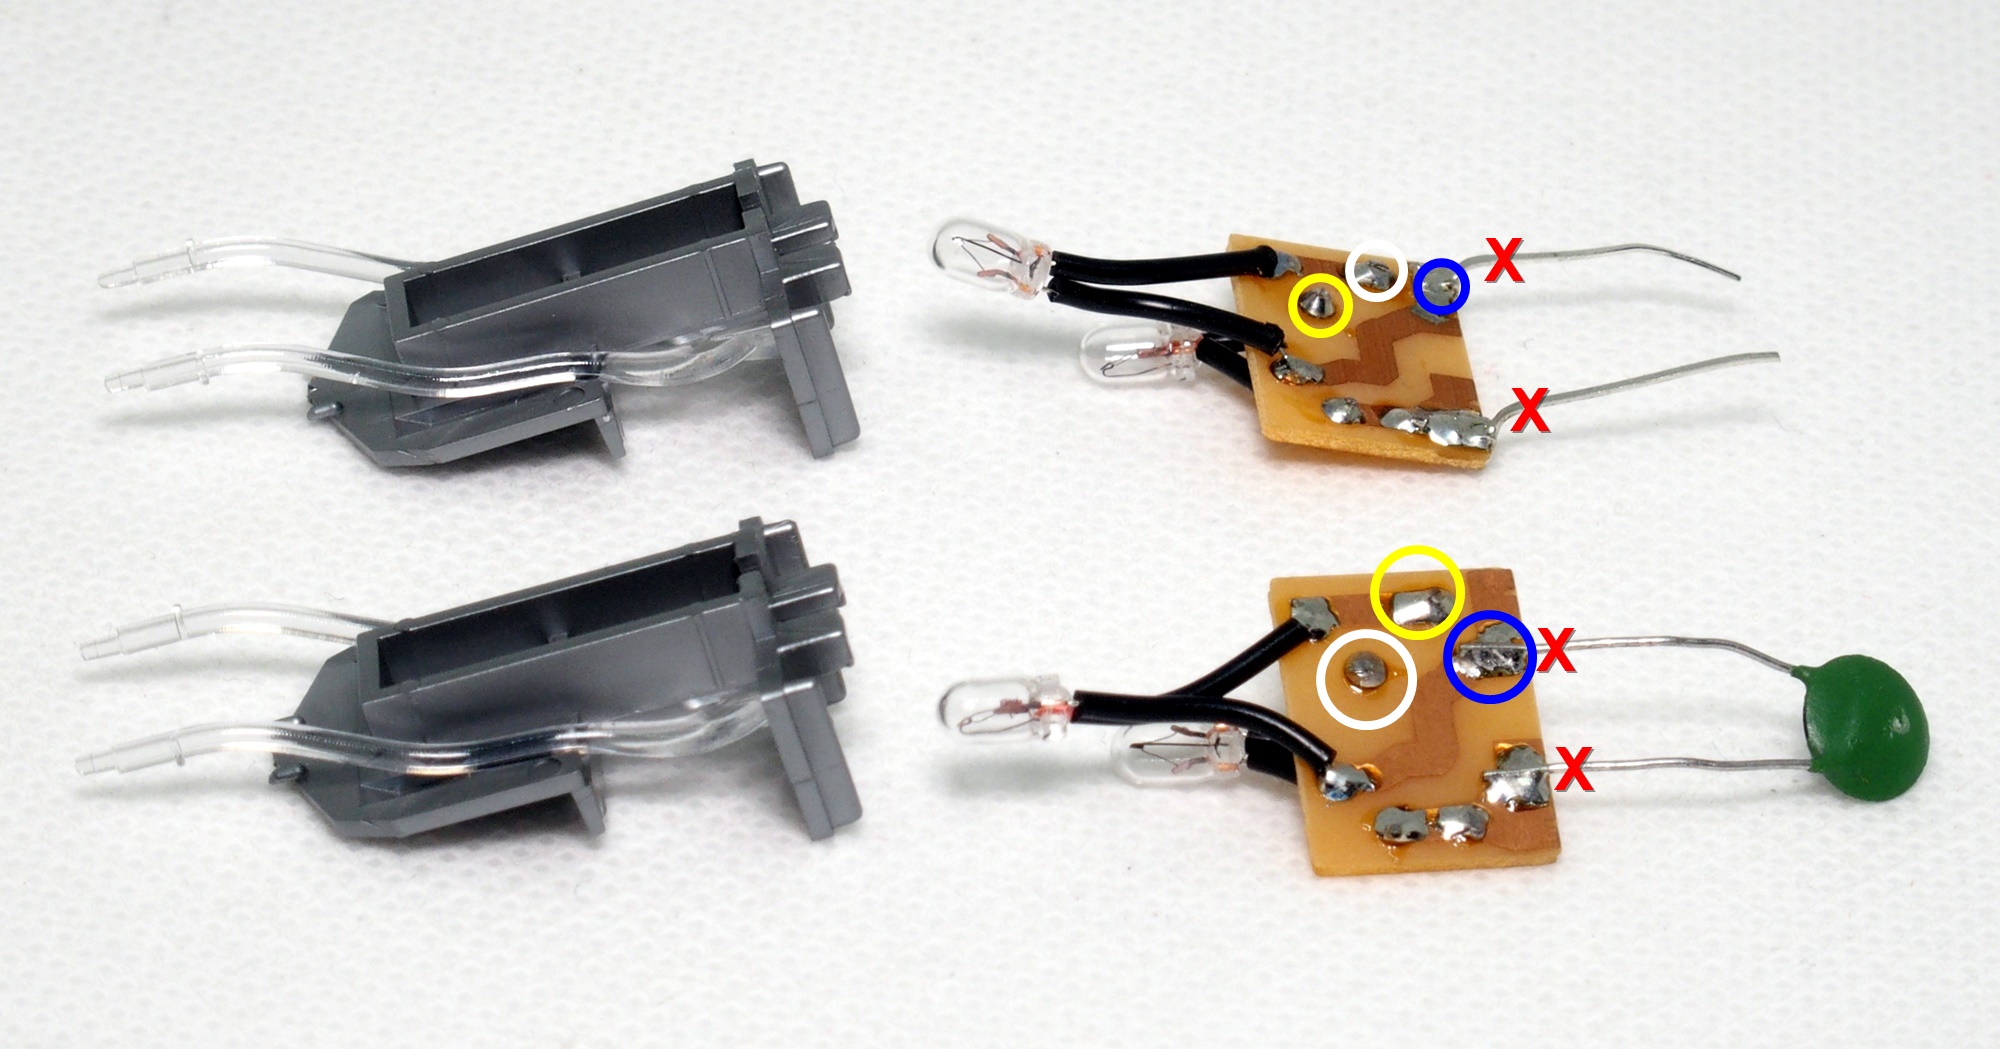
Preparing the printed circuits to receive a decoder is extremely simple: just remove the two metal rods at the location indicated by a red cross on the picture above. There will no longer be a need for the green capacitor, which must be removed. The colored circles indicate where the wires coming from the decoder should be soldered:
- White wire: front light (F0F)
- Yellow wire: rear light (F0R)
- Blue wire: common.
Some decoders do not have a common blue wire. In this case, just use either the black wire or the red wire of the decoder, which are themselves connected to the left or right rail.
Note the inversion of white and yellow between the two printed circuits: by doing this, the decoder of the dummy motor car will have the lights correctly lit according to the direction of travel, i.e. reversed compared to the motorized motor car. However, in case of error, just change the first bit of CV29.
Assembly

Warning: the DH250 decoder used here has non-standard color wires due to an error. Do not rely on the colors shown on the picture above, but respect the color codes indicated in the text.
For the dummy motor car, it is then sufficient to connect the black wire of the decoder to the left metallic strip, and the red wire to the right metallic strip.

On the motorized motor car, it is absolutely imperative to completely insulate the tabs of the motor from the contact strips, with a Kapton type insulator. Kapton is available in yellow adhesive tape from several manufacturers.
The black and red wires connect as on the dummy motor car. The motor control wires, gray and orange, are to be soldered on the tabs of the motor, on the left and on the right respectively.
It is recommended to check the perfect insulation between the tabs of the motor and the metal strips connected to the track, with a multimeter.
The decoders are then attached with double-sided tape. Then all that remains is to put the shell back in place, paying attention to the light guide for the 3rd white light located above the cabin, which tends to get lost.
And there you go
In conclusion, although the model was designed before the arrival of the DCC, the installation of decoders is extremely simple and does not require any heavy mechanical or electrical modifications as it is sometimes the case with older models. You just have to know how to use a soldering iron, which is within reach of most modelers.
In addition, the DCC operation is flawless.
Two digitalized TGVs in action
To see the list of all Kato TGVs on TroveStar, click here.
The French version of this article is available on the Trains Essonne Nord club website.

